HOW TO USE THE NEVER COMPROMISE FITTING TOOL
01
Player holds hands together in front of body and gently tucks elbows to the front corners of ribcage.
02
Player assumes a proper putting setup: bend upper body forward, maintain good posture, slightly bend knees, shift weight forward, extend arms from body until hands fall below shoulders. Fitter uses best judgement to determine proper setup.
03
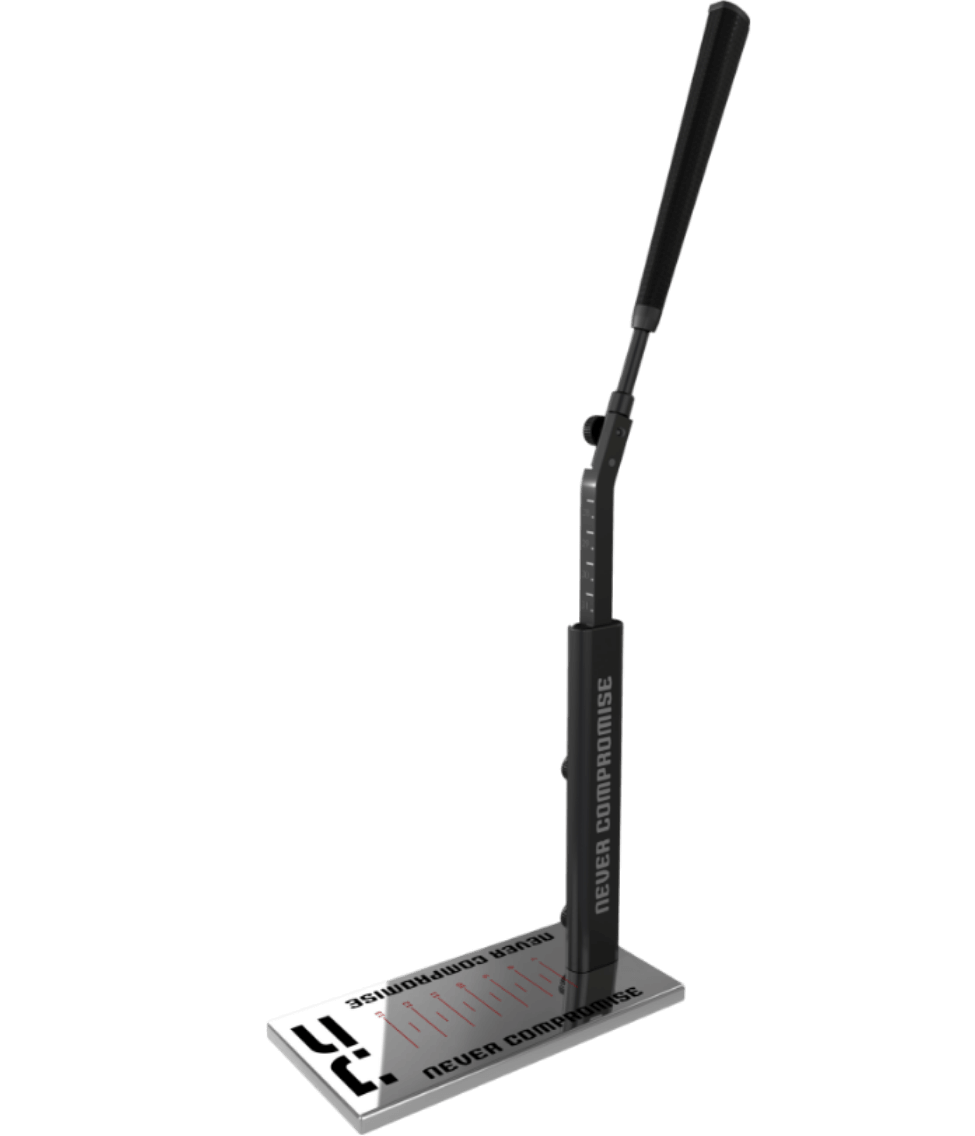
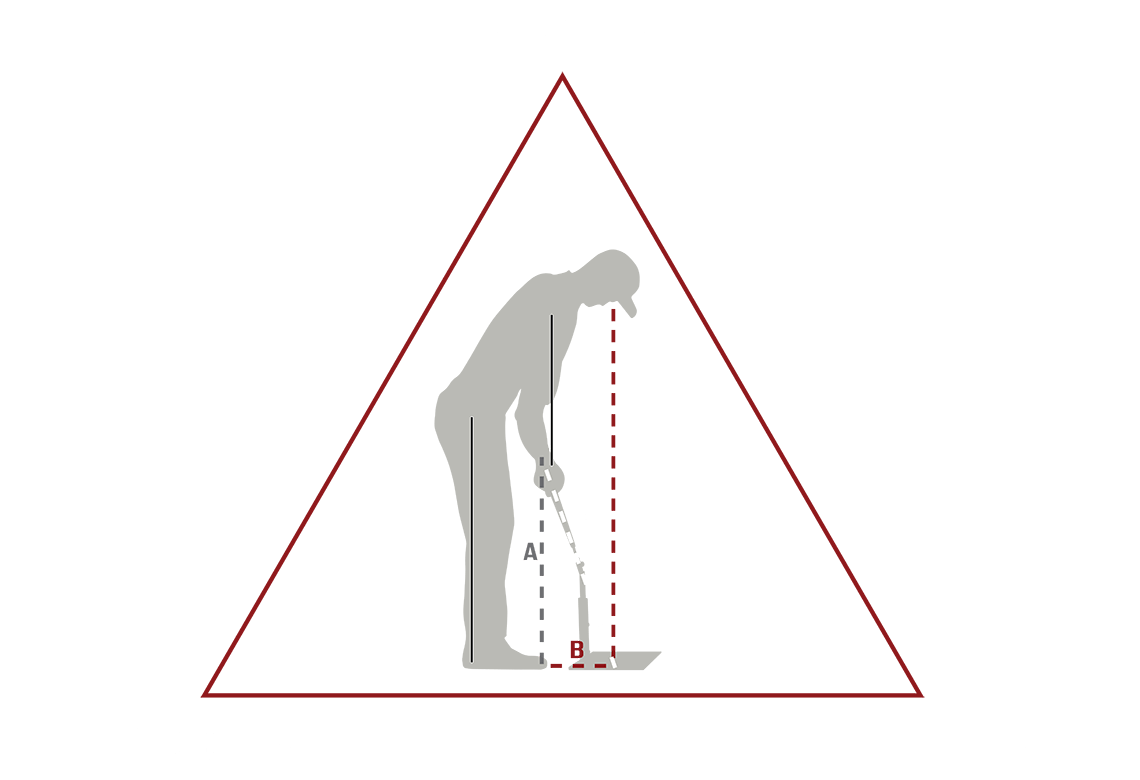
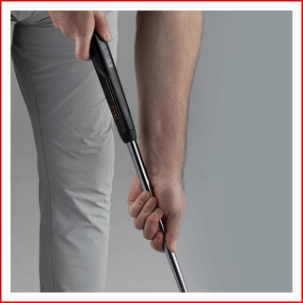
Have player open their hands and slide in fitting tool. Adjust the length of the fitting tool until the top of the grip aligns with the wrist crease of the customer's top hand.
04
Note height on the stand (A) and eye position in the mirror (B).
05
Use the reference chart below to calculate putter length (C).
| PLAYER HEIGHT (GENERAL REFERENCE) |
LENGTH ON STAND (A) |
EYE LOCATION ON MIRROR (B) (10 IS IDEAL FOR MOST PLAYERS) |
||||||||
|---|---|---|---|---|---|---|---|---|---|---|
| 8.5 | 9 | 9.5 | 10 | 10.5 | 11 | 11.5 | 12 | 12.5 | ||
| UNDER 5'2" | 28 | 31" | 31" | 31" | 31" | 31" | 31" | 31" | 31" | 31" |
| 28.5 | 31" | 31" | 31" | 31" | 31" | 31" | 31" | 31" | 31" | |
| 5'2" — 5'4" | 29 | 31" | 31" | 31" | 31" | 31" | 31" | 31.25" | 31.5" | 31.5" |
| 29.5 | 31" | 31" | 31" | 31.25" | 31.25" | 31.5" | 31.75" | 31.75" | 32" | |
| 5'5" — 5'7" | 30 | 31.25" | 31.25" | 31.5" | 31.5" | 31.75" | 32" | 32.25" | 32.25" | 32.5" |
| 30.5 | 31.75" | 31.75" | 32" | 32" | 32.25" | 32.5" | 32.5" | 32.75" | 33" | |
| 5'8" — 5'10" | 31 | 32.25" | 32.25" | 32.5" | 32.5" | 32.75" | 33" | 33" | 33.25" | 33.5" |
| 31.5 | 32.75" | 32.75" | 33" | 33" | 33.25" | 33.25" | 33.5" | 33.75" | 34" | |
| 5'11" — 6'1" | 32 | 33" | 33.25" | 33.5" | 33.5" | 33.75" | 33.75" | 34" | 34.25" | 34.25" |
| 32.5 | 33.5" | 33.75" | 33.75" | 34" | 34.25" | 34.25" | 34.5" | 34.75" | 34.75" | |
| 6'2" — 6'4" | 33 | 34" | 34.25" | 34.25" | 34.5" | 34.75" | 34.75" | 35" | 35" | 35.25" |
| 33.5 | 34.5" | 34.75" | 34.75" | 35" | 35" | 35.25" | 35.5" | 35.5" | 35.75" | |
| OVER 6'4" | 34 | 35" | 35.25" | 35.25" | 35.5" | 35.5" | 35.75" | 36" | 36" | 36.25" |
| 34.5 | 35.5" | 35.75" | 35.75" | 36" | 36" | 36.25" | 36.25" | 36.5" | 36.75" | |
| 35 | 36" | 36.25" | 36.25" | 36.5" | 36.5" | 36.75" | 36.75" | 37" | 37" | |
HOW TO FIT NEVER COMPROMISE PUTTERS, START TO FINISH
01
TEST LENGTH DEMO
After the player is fit to for length, confirm whether they're comfortable with the selection by using a demo closest to in length to their fitting. All demos are offered at different lengths for this reason.
02
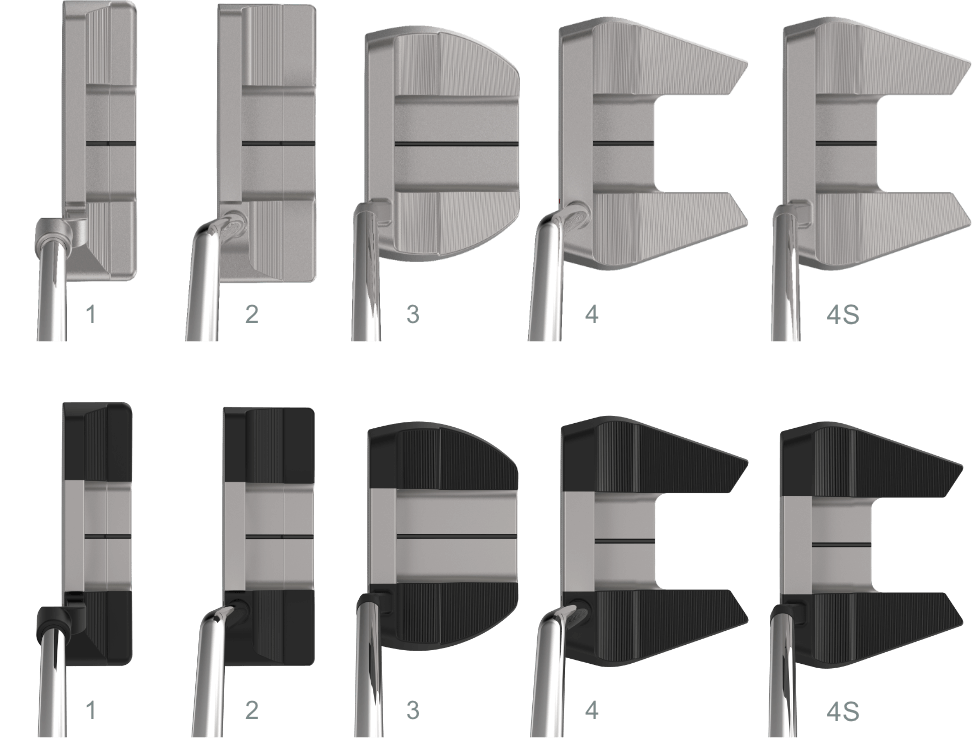
CHOOSE THE PROPER SHAPE
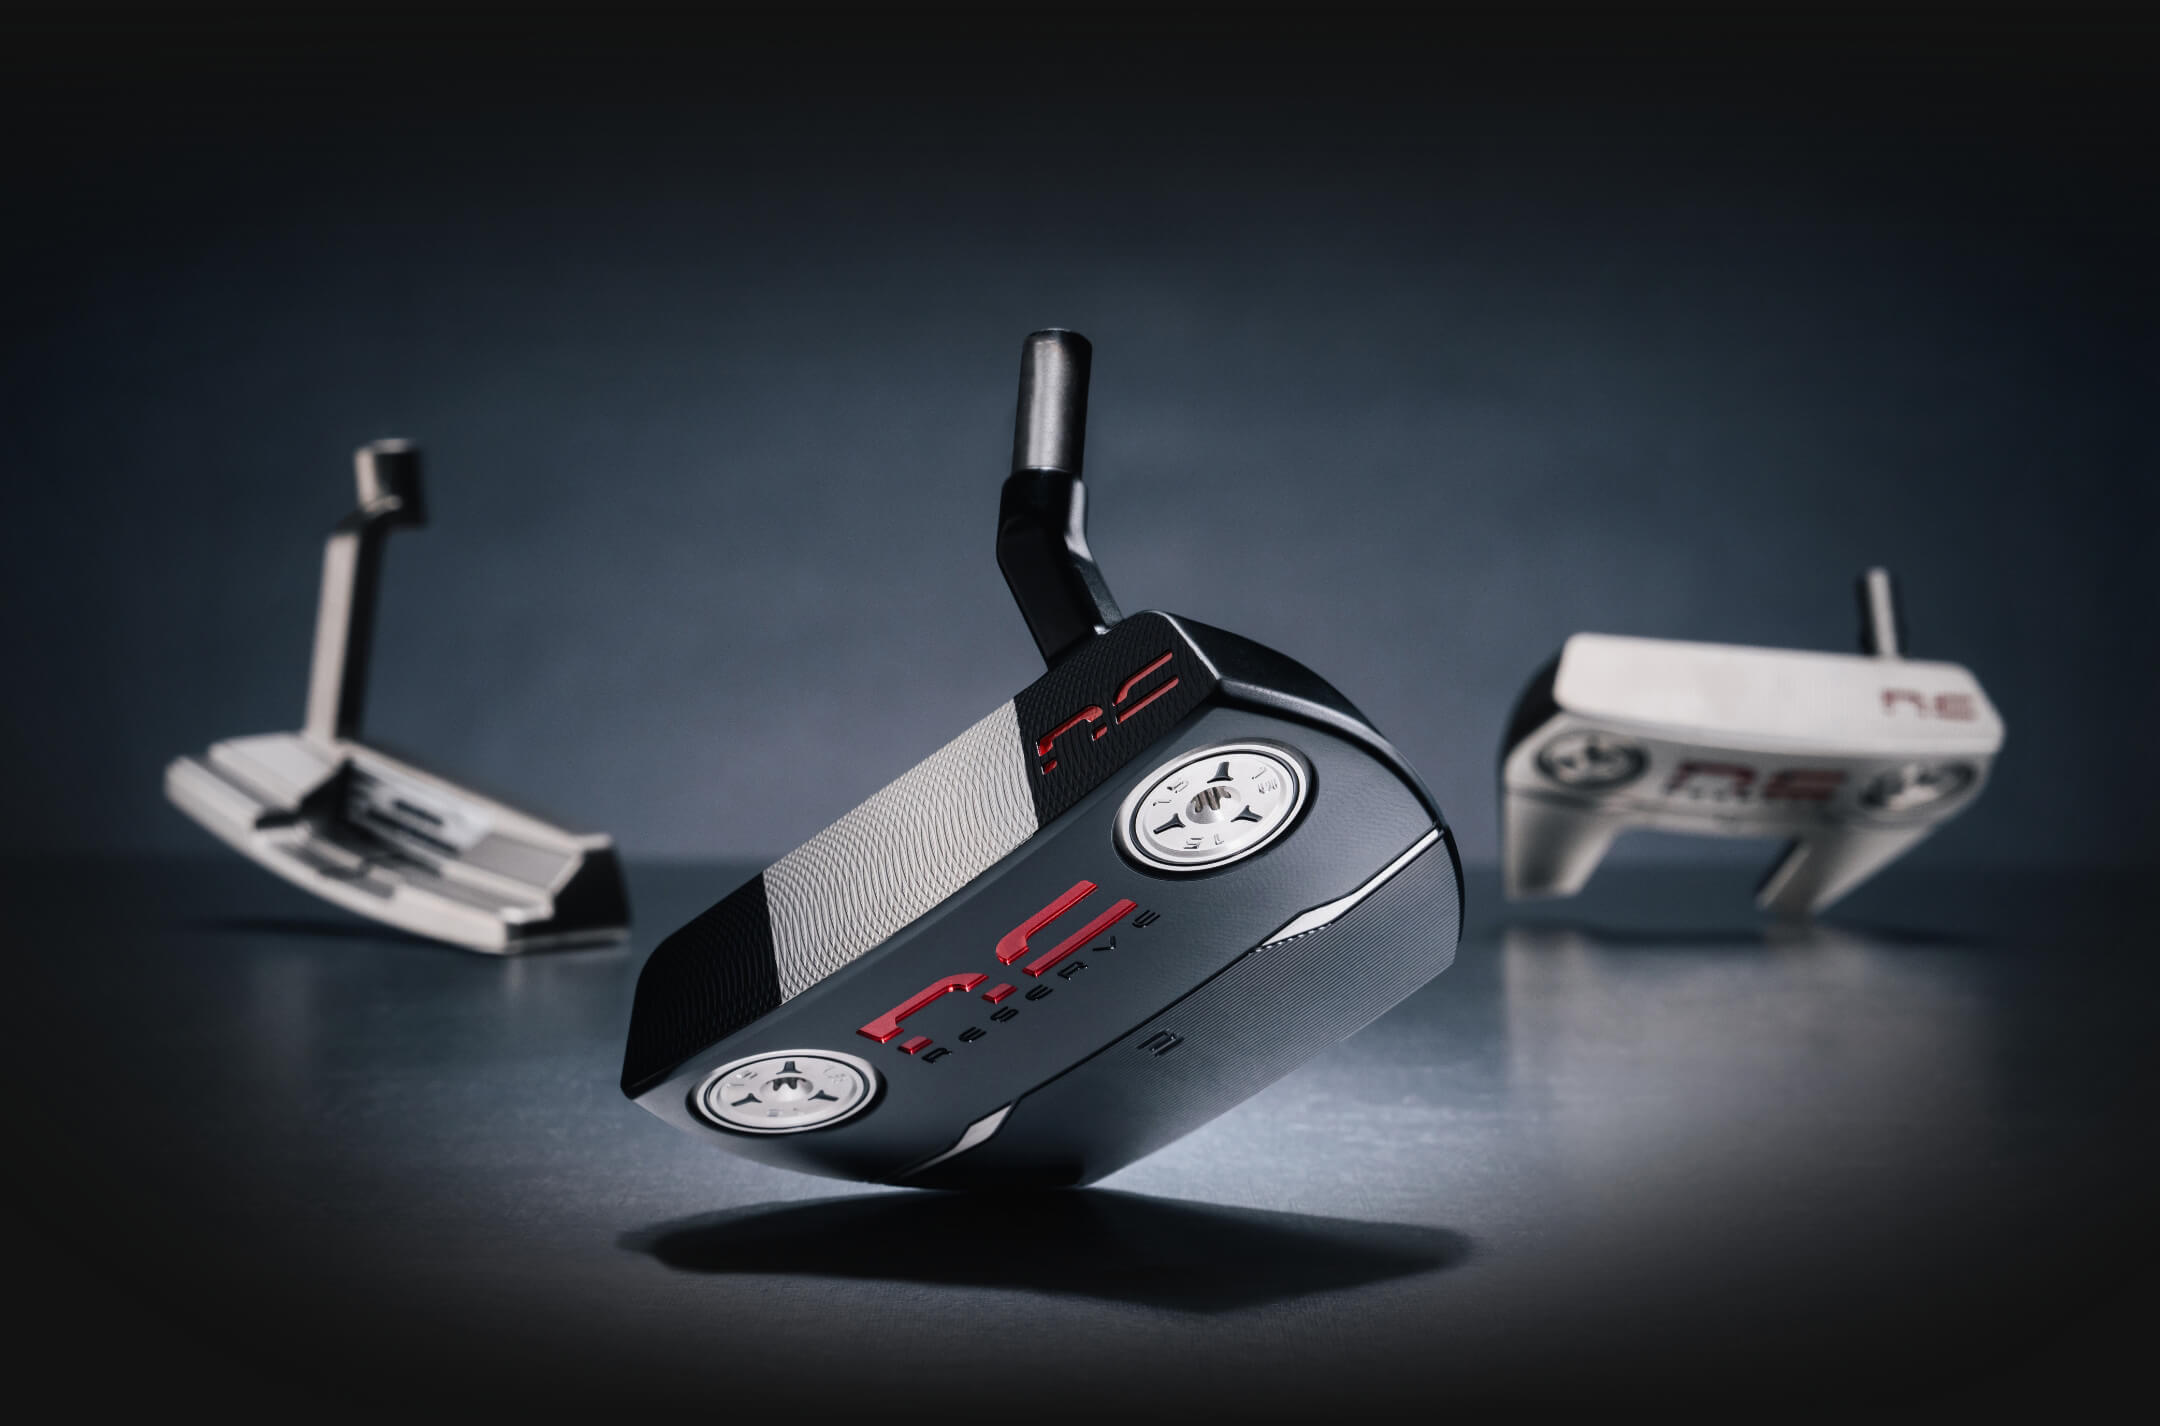
Have a conversation with the player about their preferred head shape. All putters start at the same weight, so shape choice will primarily come down to toe hang and address shape preference. Players can be shown demos, or ungripped models, to decide which shape they prefer.
03
CHOOSE THE PROPER FINISH
Each shape is available in our Tour Satin or NC Contrast finish. Discuss which option best suits their eye and stroke shape, then grab that ungripped 37" model.
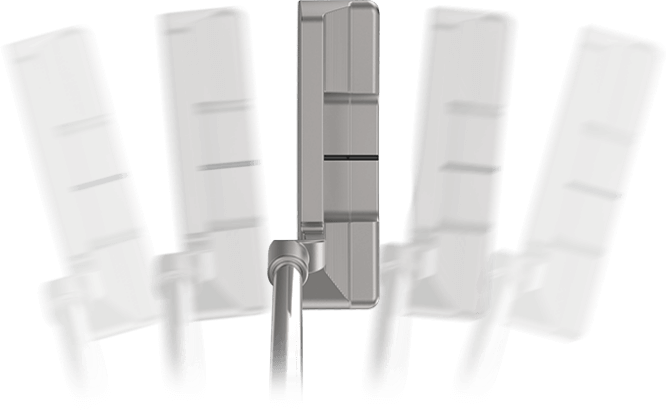
TOUR SATIN
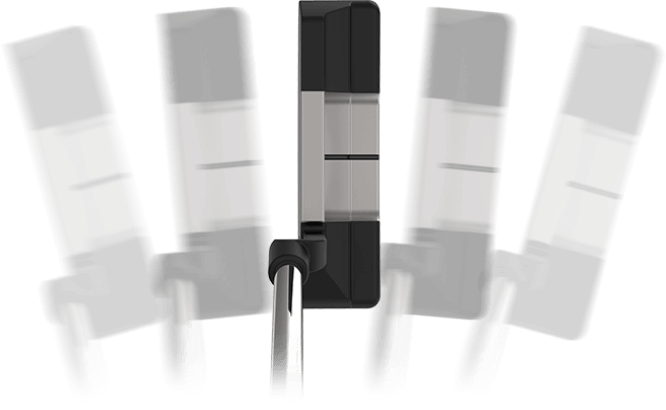
NC CONTRAST
04
CHOOSE THE PROPER GRIP
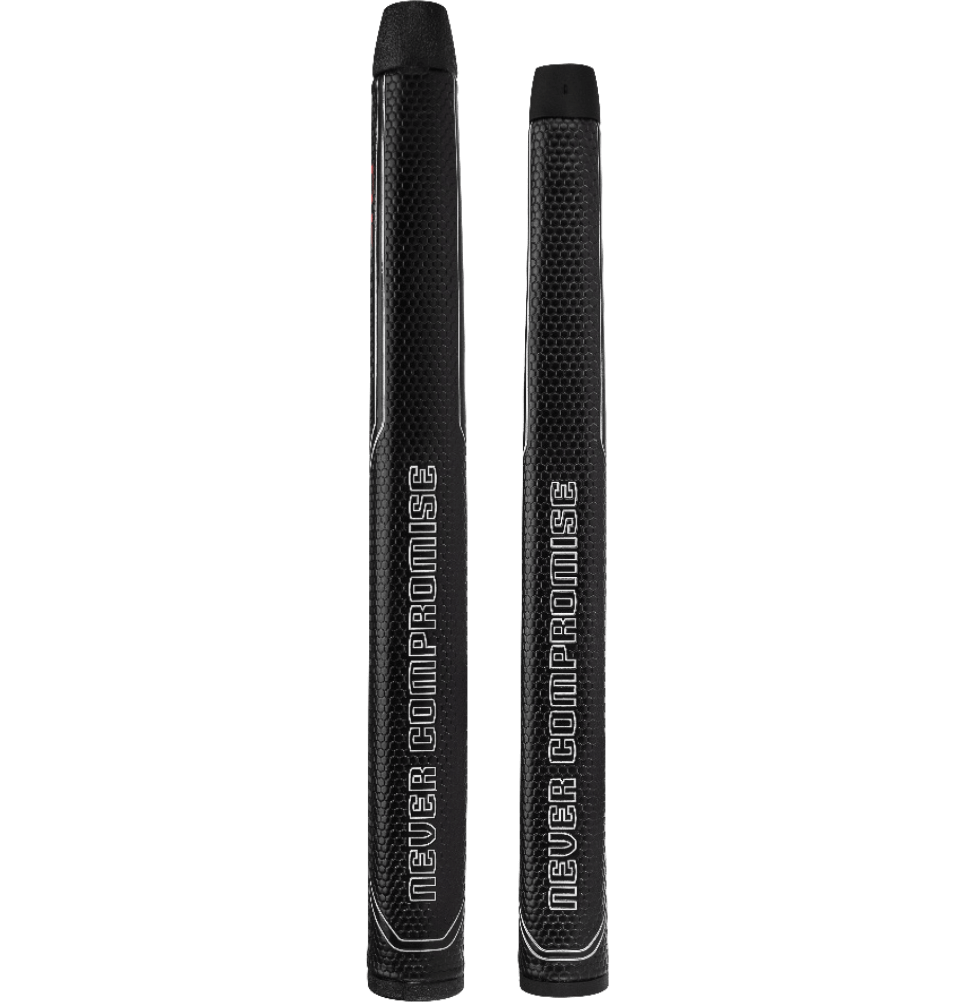
Choose the grip that fits the player's selected head shape, hand size, or personal preference. Both grips offered are the same weight (72g).
NC PISTOL

NC Pistol is designed to help facilitate natural hand turn through an arcing stroke.
NC PISTOL OVERSIZE


NC Pistol Oversize helps hands stay quiet during the stroke, facilitating a "straight back, straight through" motion while still maintaining feel and control.
NC GOLF PRIDE PRO ONLY RED STAR

PRO ONLY Red Star features a tour-preferred pistol shape with an arched paddle for consistent thumb positioning, designed to help hands turn the Putter over to facilitate a naturally arcing stroke. Also a favorite for those who prefer a thinner grip.
05
CHOOSE THE PROPER WEIGHTS
Using the reference sheet below, choose the sole weights based on the length the player was fit into.
| LENGTH | 31" — 32.75" | 33" — 33.75" | 34" — 34.75" | 35" — 35.75" | 36" — 37" |
|---|---|---|---|---|---|
| SOLE WEIGHTS |
2 x 25g
 Steel/Tungsten
|
2 x 20g
 Steel
Steel
|
2 x 15g
 Steel
Steel
|
2 x 10g
 Steel
Steel
|
2 x 5g
 Aluminum
|
| TOTAL HEAD WEIGHT | 380g | 370g | 360g | 350g | 340g |
06
BUILD THE PUTTER
Reference the build instruction sheet for comprehensive, step-by-step guidance.
07
CONFIRM WEIGHTING
Before finalizing the sale, hand the Putter back to the player to confirm they like the weighting. If the Putter is too heavy or too light for their preference, return to the weight kit and install heavier or lighter weights.
08
RE-ORDER PARTS
After each sale, place an order with Never Compromise to restock:
- The ungripped 37" head model that was purchased
- The grip type that was purchased
- The weights that were purchased
HOW TO ASSEMBLE A NEVER COMPROMISE PUTTER
01
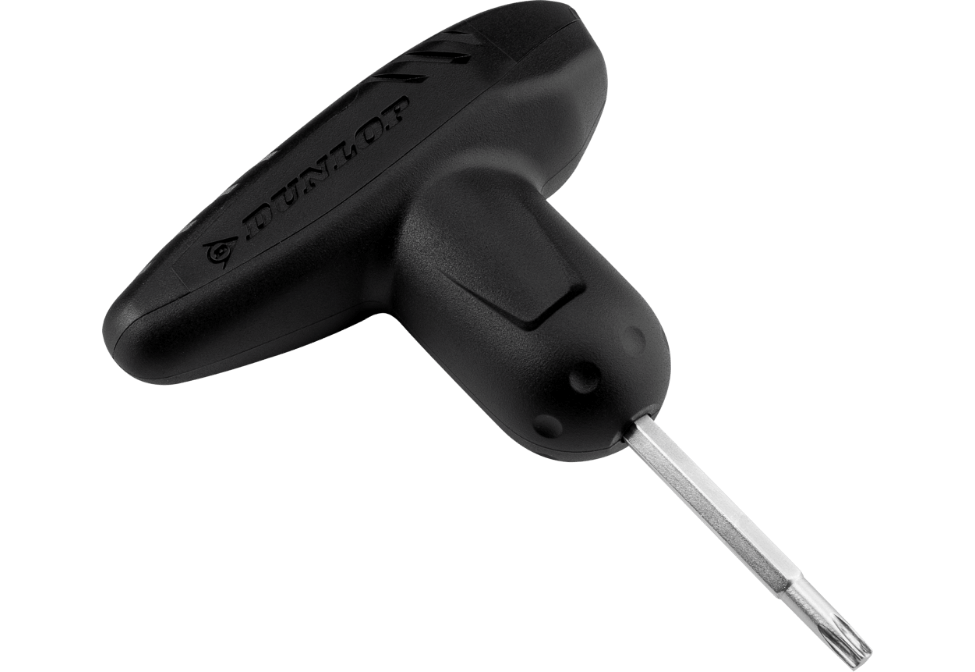
INSTALLING PUTTER SOLE WEIGHTS
Using the Dunlop Torque Wrench, insert the desired sole weights into the Putter. Ensure the weights and wrench are perpendicular to the head. To tighten the weights, turn the wrench clockwise while applying downward pressure. Keep tightening until you hear a click. To loosen, turn the wrench counterclockwise.

02
MARK THE LENGTH
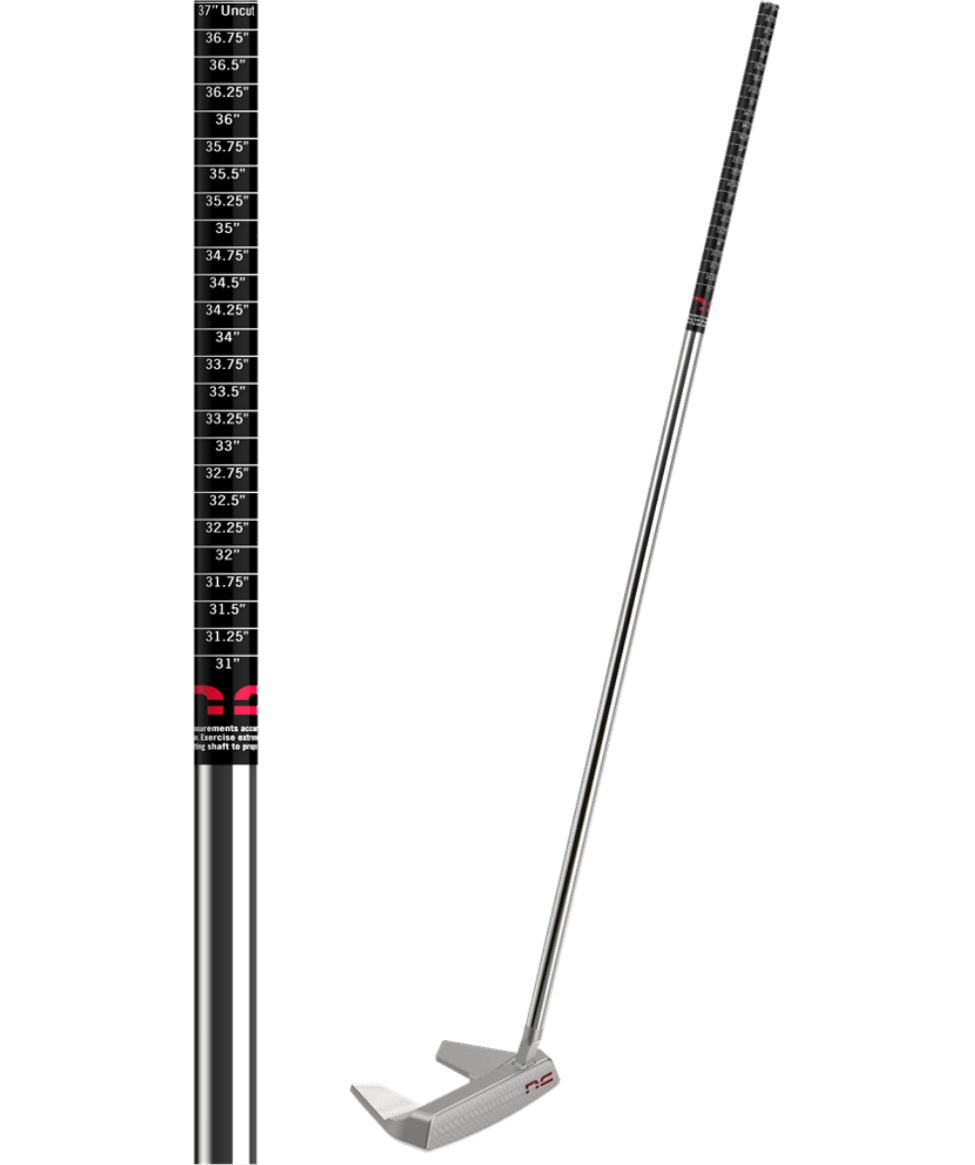
Mark the desired cut length on the shaft using a marker, referring to the length sticker as a guide. Once marked, remove the sticker.


03
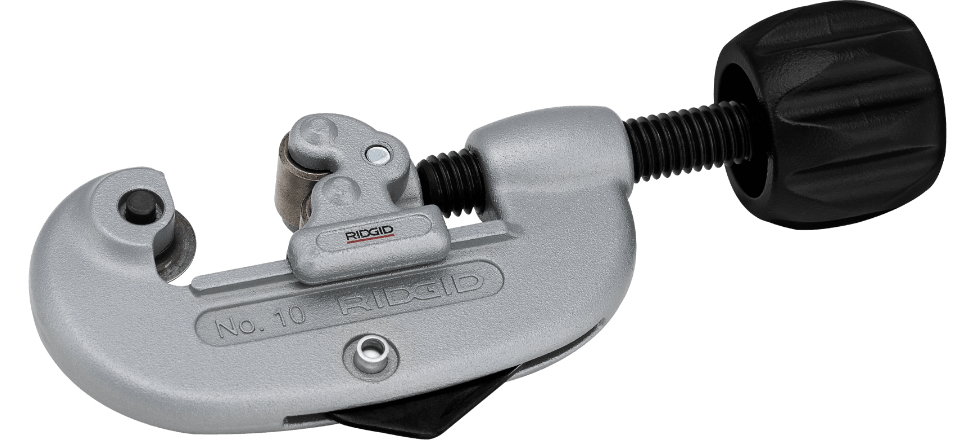
PREPARING THE CUTTING TOOL
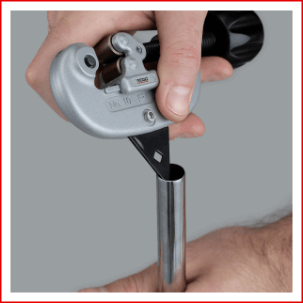
Open the space between the rollers and the cutting wheel by rotating the knob of the cutting tool counterclockwise.


04
ACCURATELY SETTING UP THE CUTTING TOOL
Insert the shaft into the jaws of the cutting tool and align the cutting wheel with your cut length mark. With the shaft resting between the rollers, tighten the tool by turning the knob clockwise, bringing the cutting wheel in contact with the shaft. Ensure the cutting wheel remains perfectly aligned with the cut mark as it contacts the shaft. Tighten the cutting tool until it's firmly locked onto the shaft and cannot slip or become misaligned.


05
CUTTING THE SHAFT
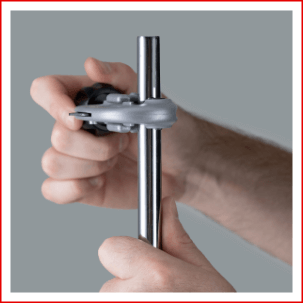
Holding the shaft firmly in one hand, rotate the cutting tool clockwise to cut the shaft. You should feel moderate resistance when rotating the cutting tool. Adjust the knob if needed by loosening (counterclockwise) or tightening it (clockwise). A snapping sound will indicate the shaft is almost fully cut.


06
REMOVING BURRS
After the shaft is cut and excess length discarded, use the reamer blade on the backside of the cutting tool to remove any burrs in and around the shaft cut. Extend the reamer blade by pulling on the end closest to the knob.


07
APPLYING TAPE
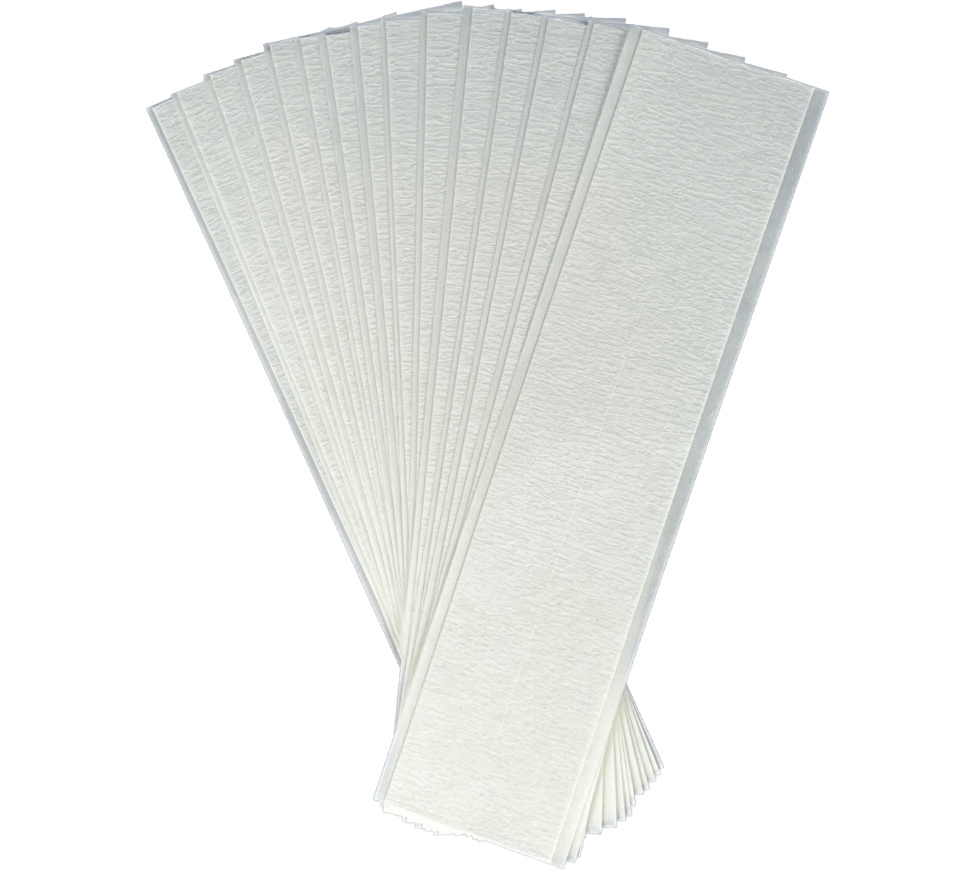
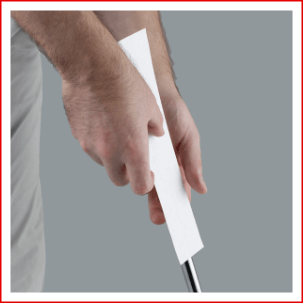
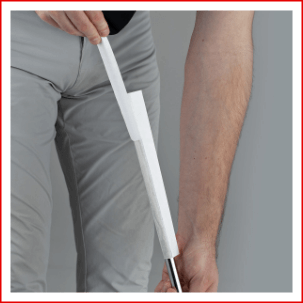
Peel the grip tape off its backing and place it onto the top of the shaft, leaving 1/4" to 1/2" extending beyond the butt end. Crease one side of the tape down, adhering it to the shaft, then peel off that side's strip. Repeat on the other side. Push the remaining tape into the butt end of the shaft.

08
APPLYING GRIP SOLVENT
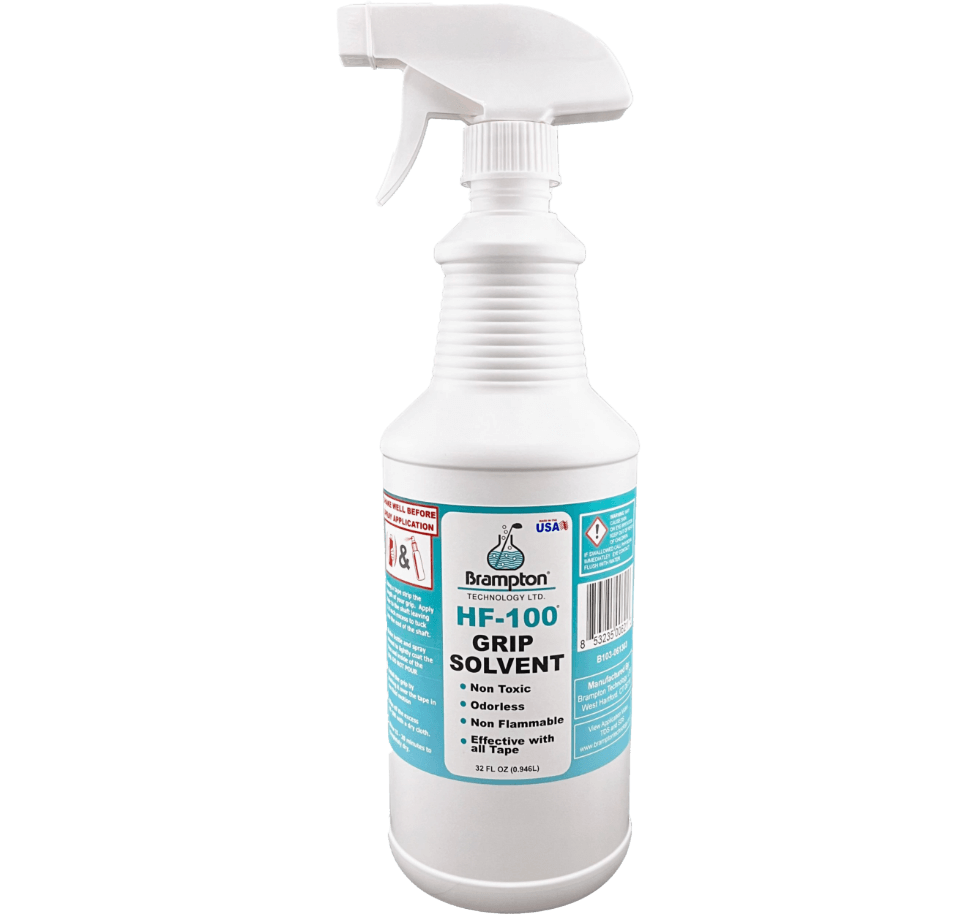
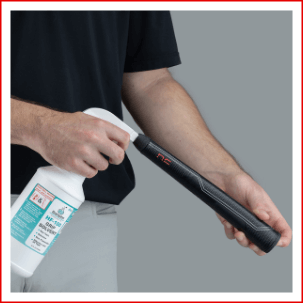
Using two to three sprays of the solvent spray bottle, coat the grip tape in a layer of solvent. Next, spray six to seven times into the grip while covering the bottom hole to prevent any solvent from dripping out. Shake the grip to evenly coat the inside and then pour the excess solvent onto the grip tape.

09
INSTALLING THE GRIP
Slide the grip over the butt end of the shaft. The grip should slide on easily. If not, apply more solvent to the tape and grip. Once fully installed, ensure the grip alignment is straight and adjust quickly if needed. Wait a few minutes for the solvent to dry and for the adhesive to be secure.


10
APPLYING KBS CT TOUR LABEL
Apply the KBS CT Tour Label approximately 1"–2" below the grip on the backside of the shaft. Ensure the label is not visible at address.

DEALER PACKAGE
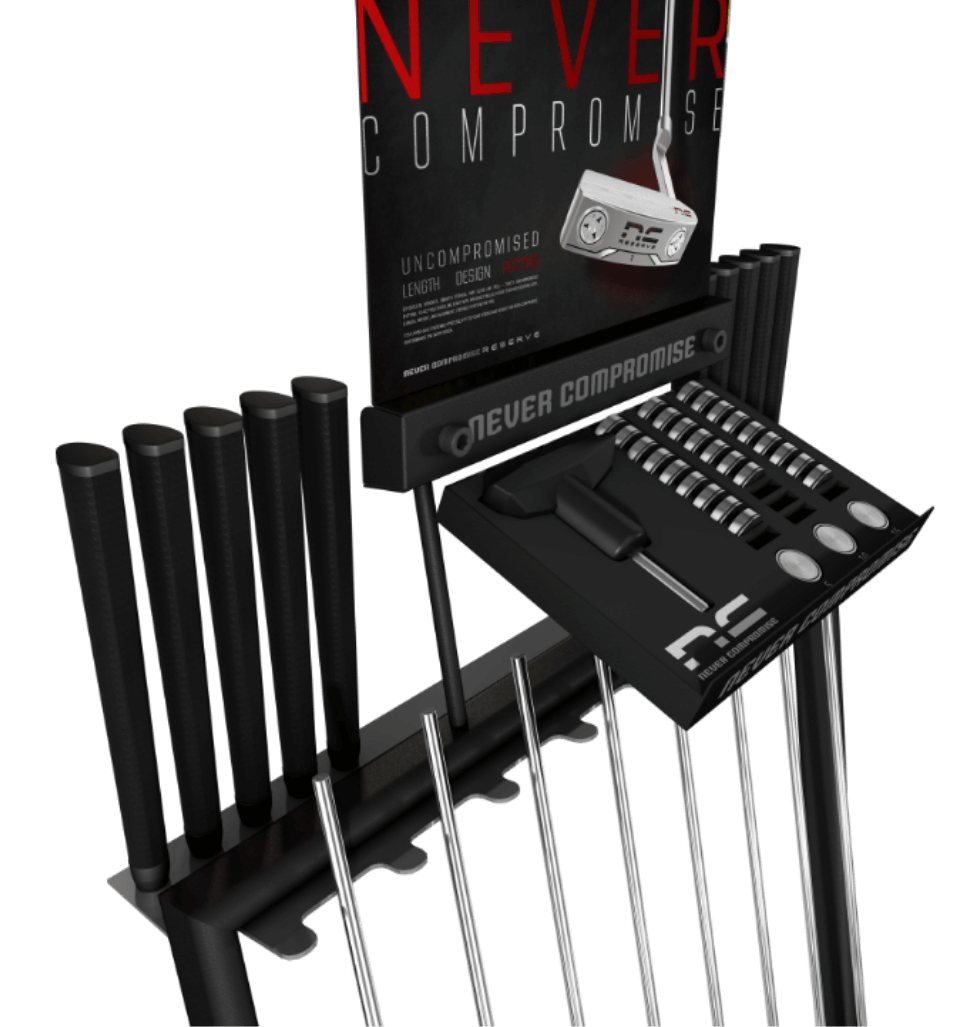
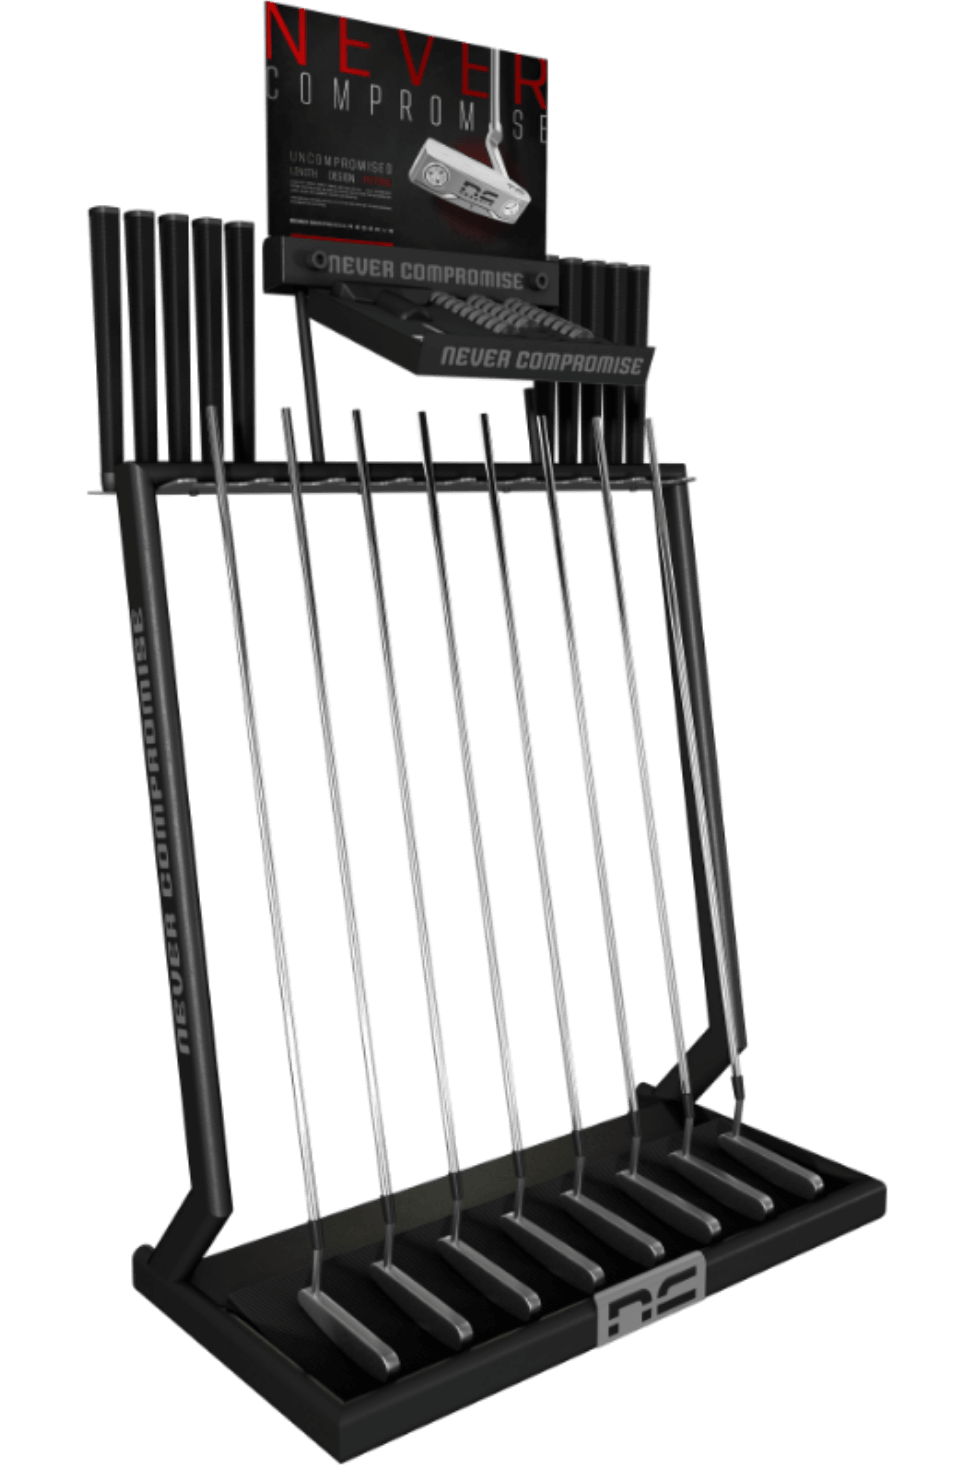
Never Compromise Dealers will receive all Putters built to 37" uncut, ungripped, and without weights. The package also includes all the necessary tools and components needed to fit, assemble, and sell same-day custom Putters.


